
Getting creative: Free-lensing
There are many aspects to photography that I really love. Finding light is one of them (more on that later), along with photographing emotions, taking candid shots, capturing details, and generally just being able to have a tangible product of what my brain envisions when I look at any given subject. It was several years ago in a photography group on Facebook that I was seemingly drawn to a particular style of images. Most of these images have an ethereal look to them; one area in focus, the rest surrounded by a “swirl” of blur. After some investigating, I learned that I could achieve this look with something called free-lensing. It sounded really interesting to me and I had no idea what it meant, so of course I was curious and driven to learn more.
Free-lensing is when you expose an image by removing the lens from the camera body and hold it very close to the mount, as if it were almost attached. You can tilt the lens from side to side (or up and down) while looking through the viewfinder to obtain focus where you want it. You may find that you’ll also need to move closer or further away from your subject as well. What this does is throws your focal plane off kilter (normally it runs parallel to the sensor) and what you’re left with is part of the image that’s in focus, and the rest has this tilted, blurred, vignette effect to it. This might sound really confusing, so to best show you the difference, I took some comparison images.

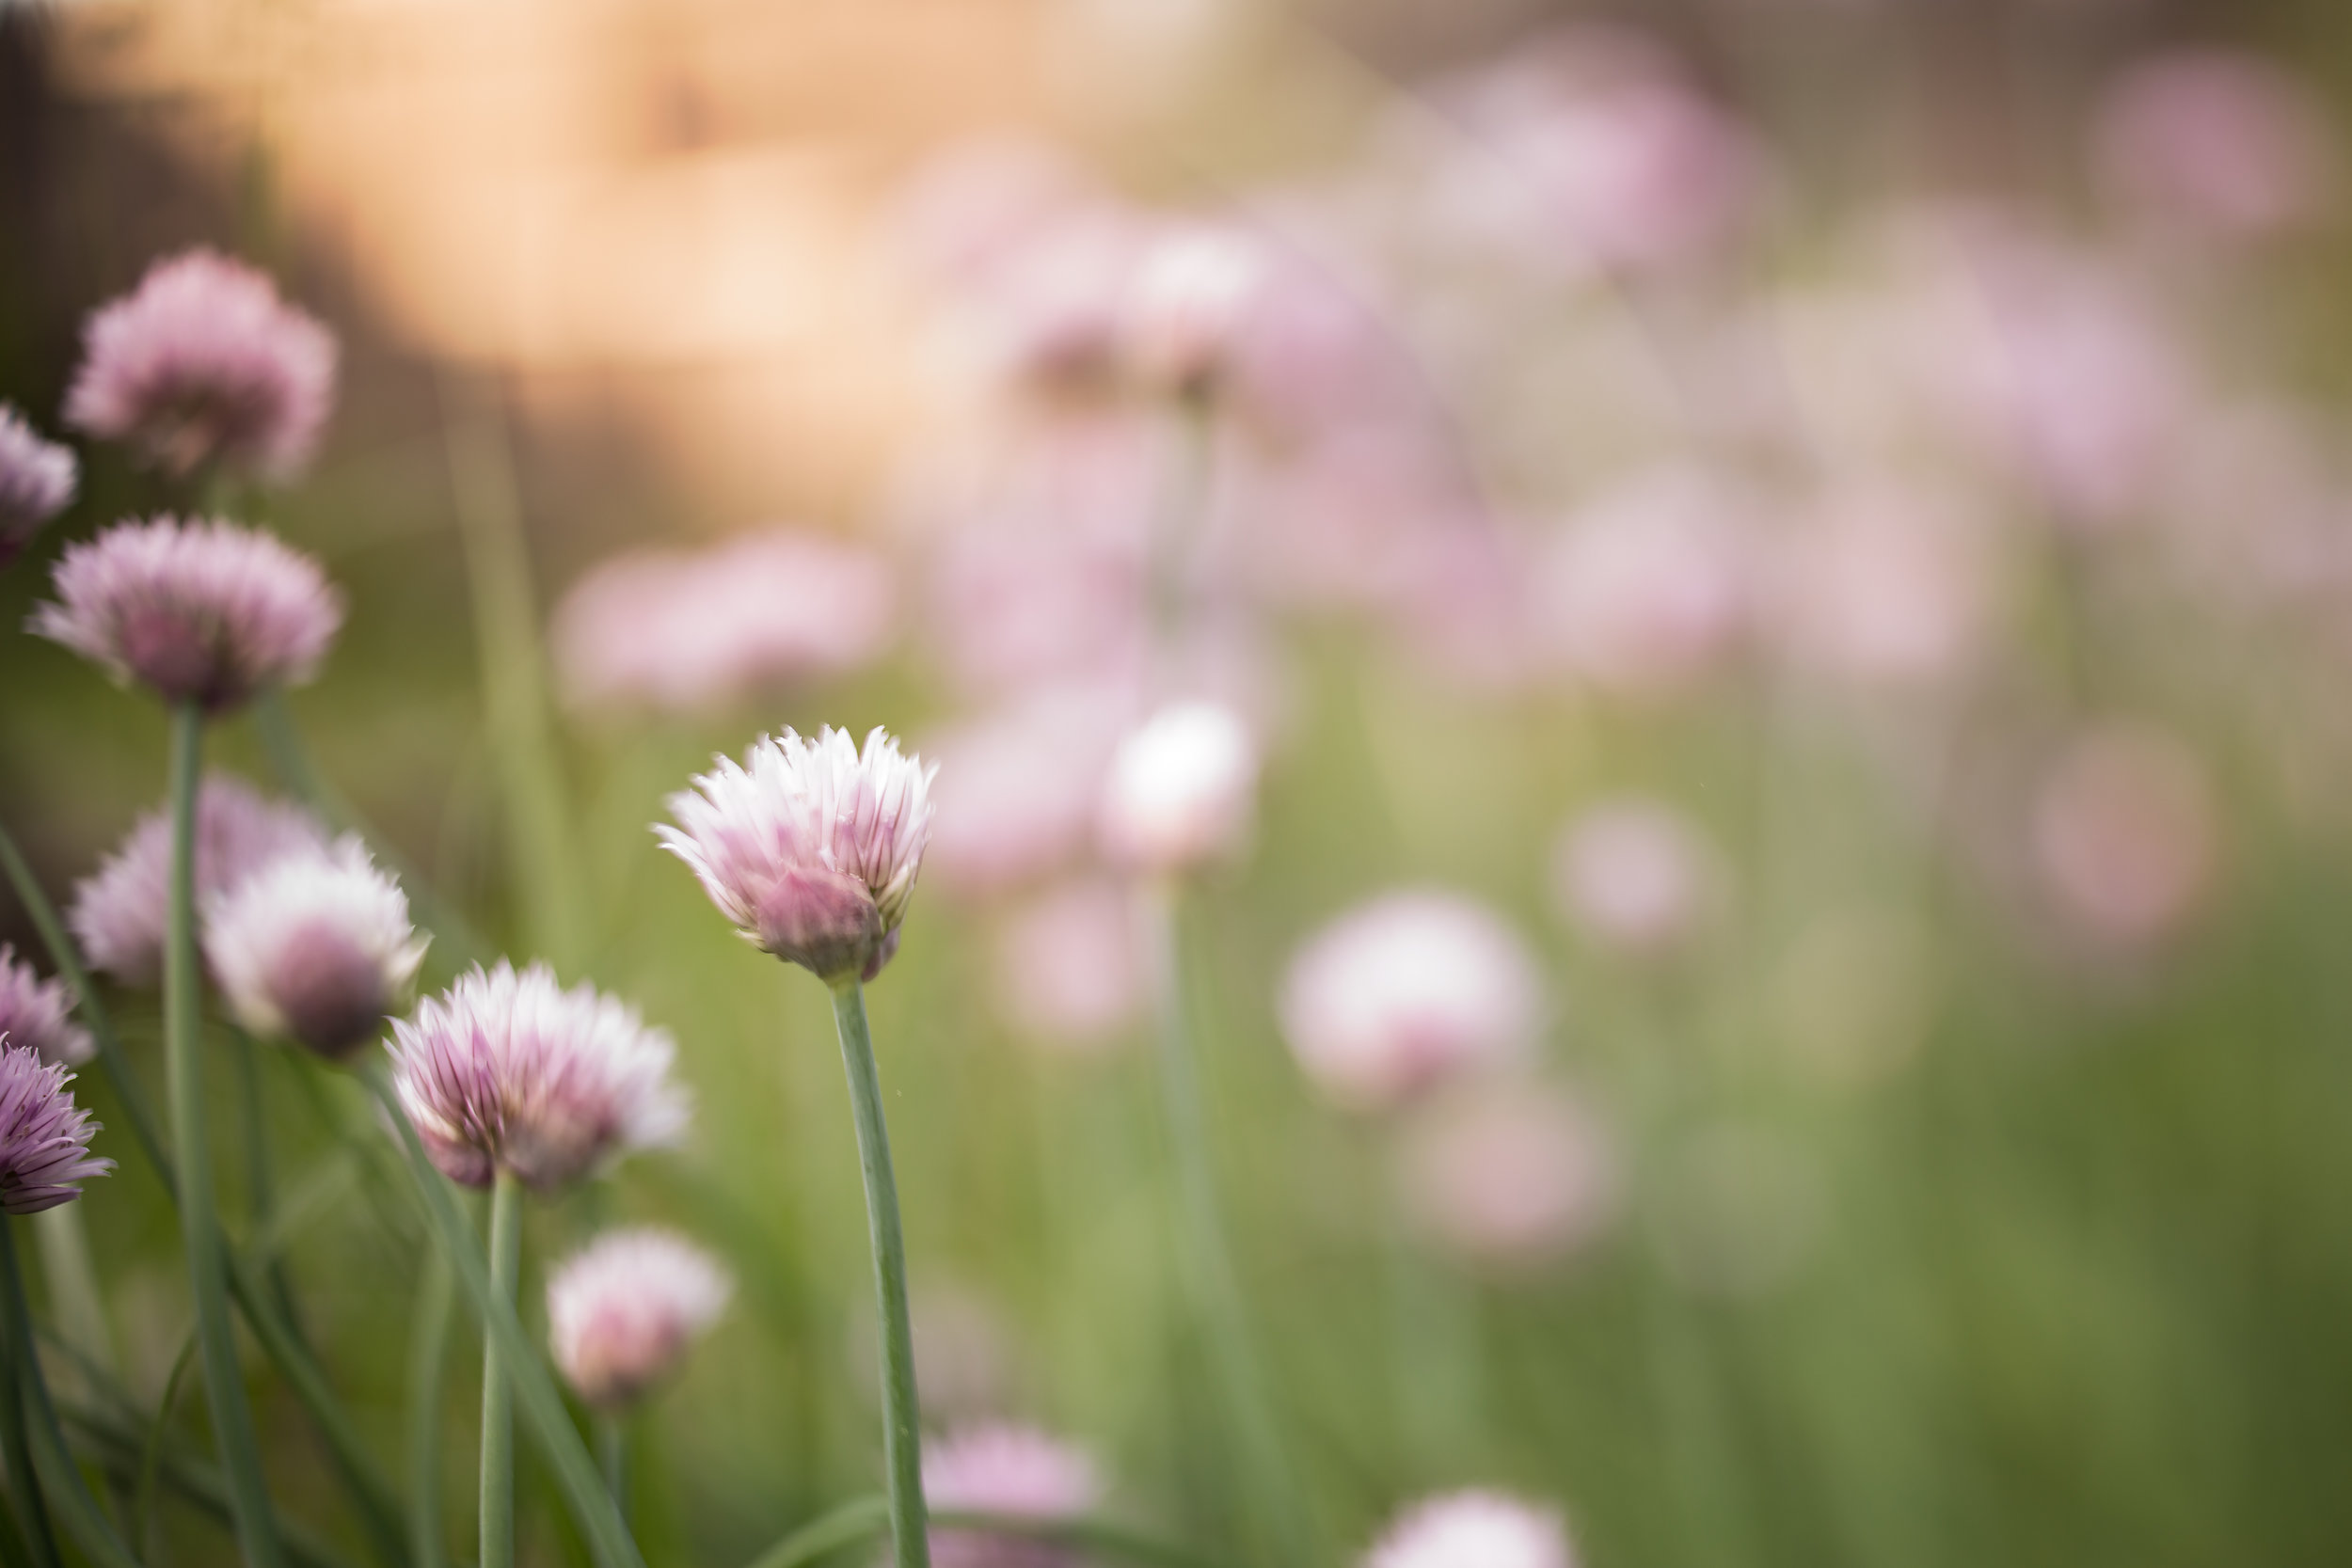
This image is free-lensed. The lens is detached from the camera body, and I tilted the lens to obtain focus on the dandelion.

This image is exposed normally, with the lens fully attached to the camera body; focus is on the dandelion.
And another comparison:

Free-lensed image

Image exposed normally, with the lens fully attached to the camera.
Ok, so just detach the lens and move it around a little, and my images will look like that? Well that sounds easy…except it’s not.
Free-lensing takes a considerable amount of patience AND practice.
That’s cool, I have 5 kids – I’ve got this.
Turns out I have more patience standing over a flower for several (several) minutes trying to nail focus than I do when it comes to listening to my kids bicker with each other for longer than 30 seconds.
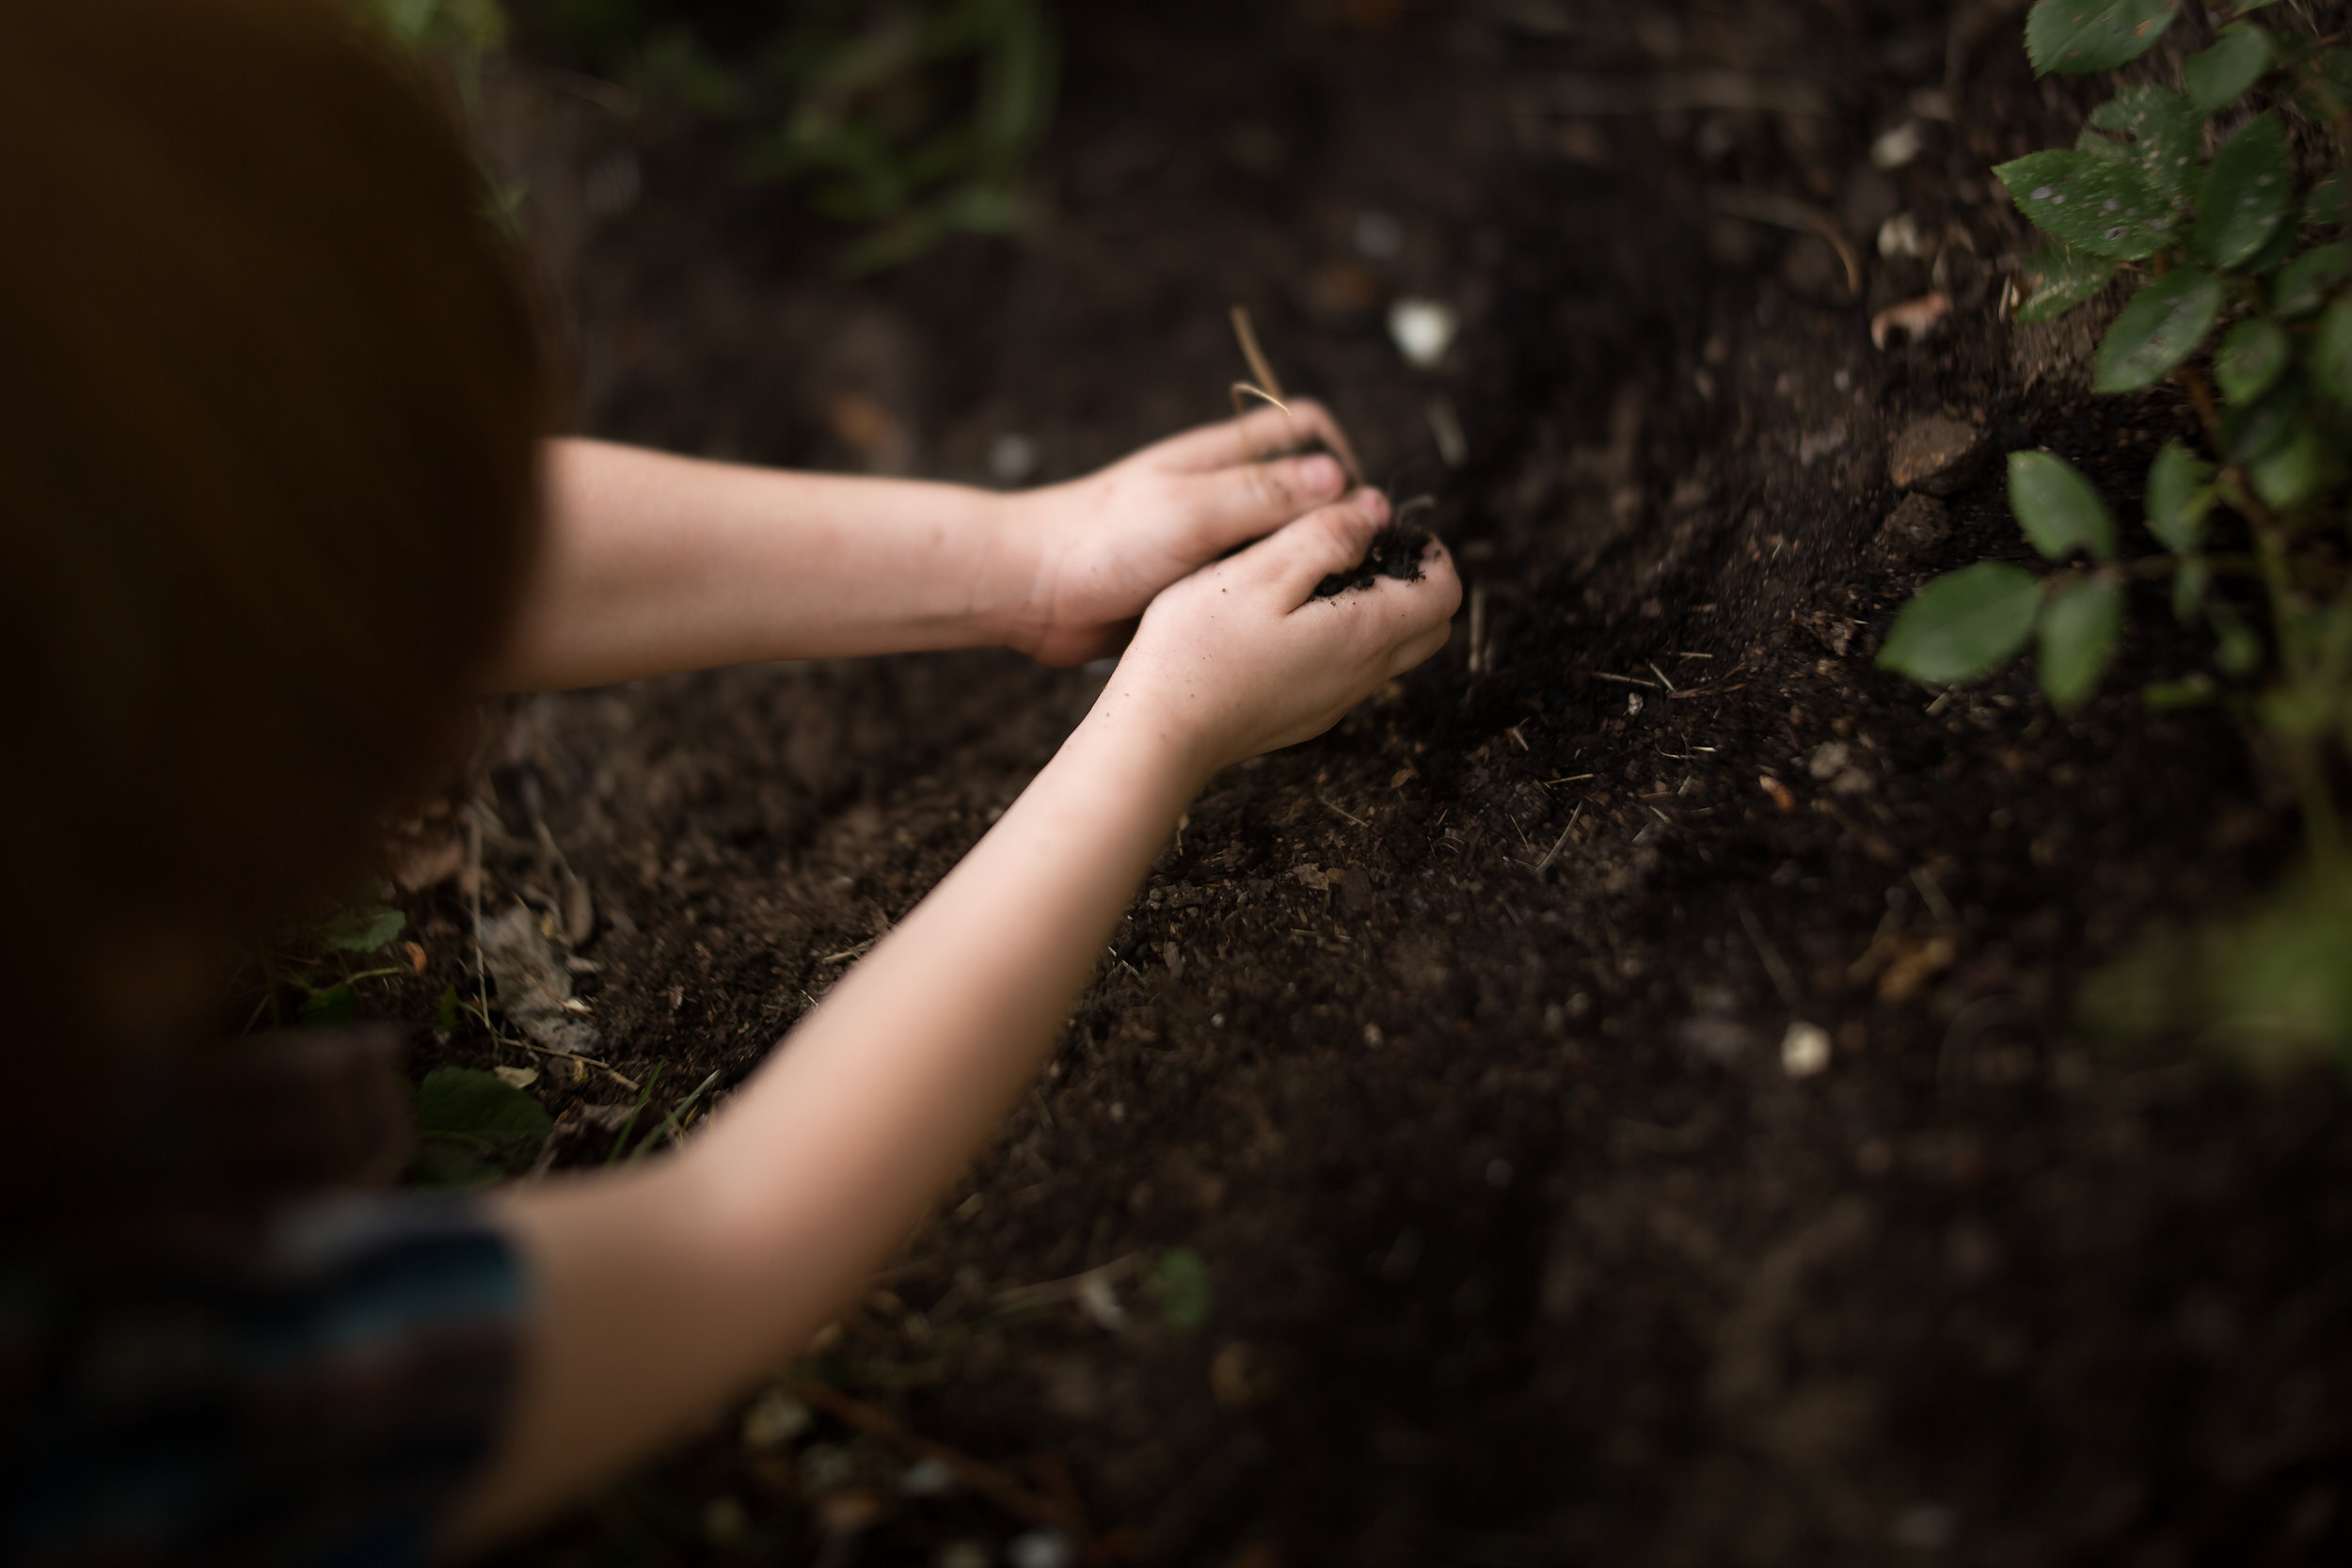
I started off by practicing on plants and flowers because they sit still and they cooperate better than my 5 feral beautiful children. I figured I could practice on them and move onto the kids as I improved over time.


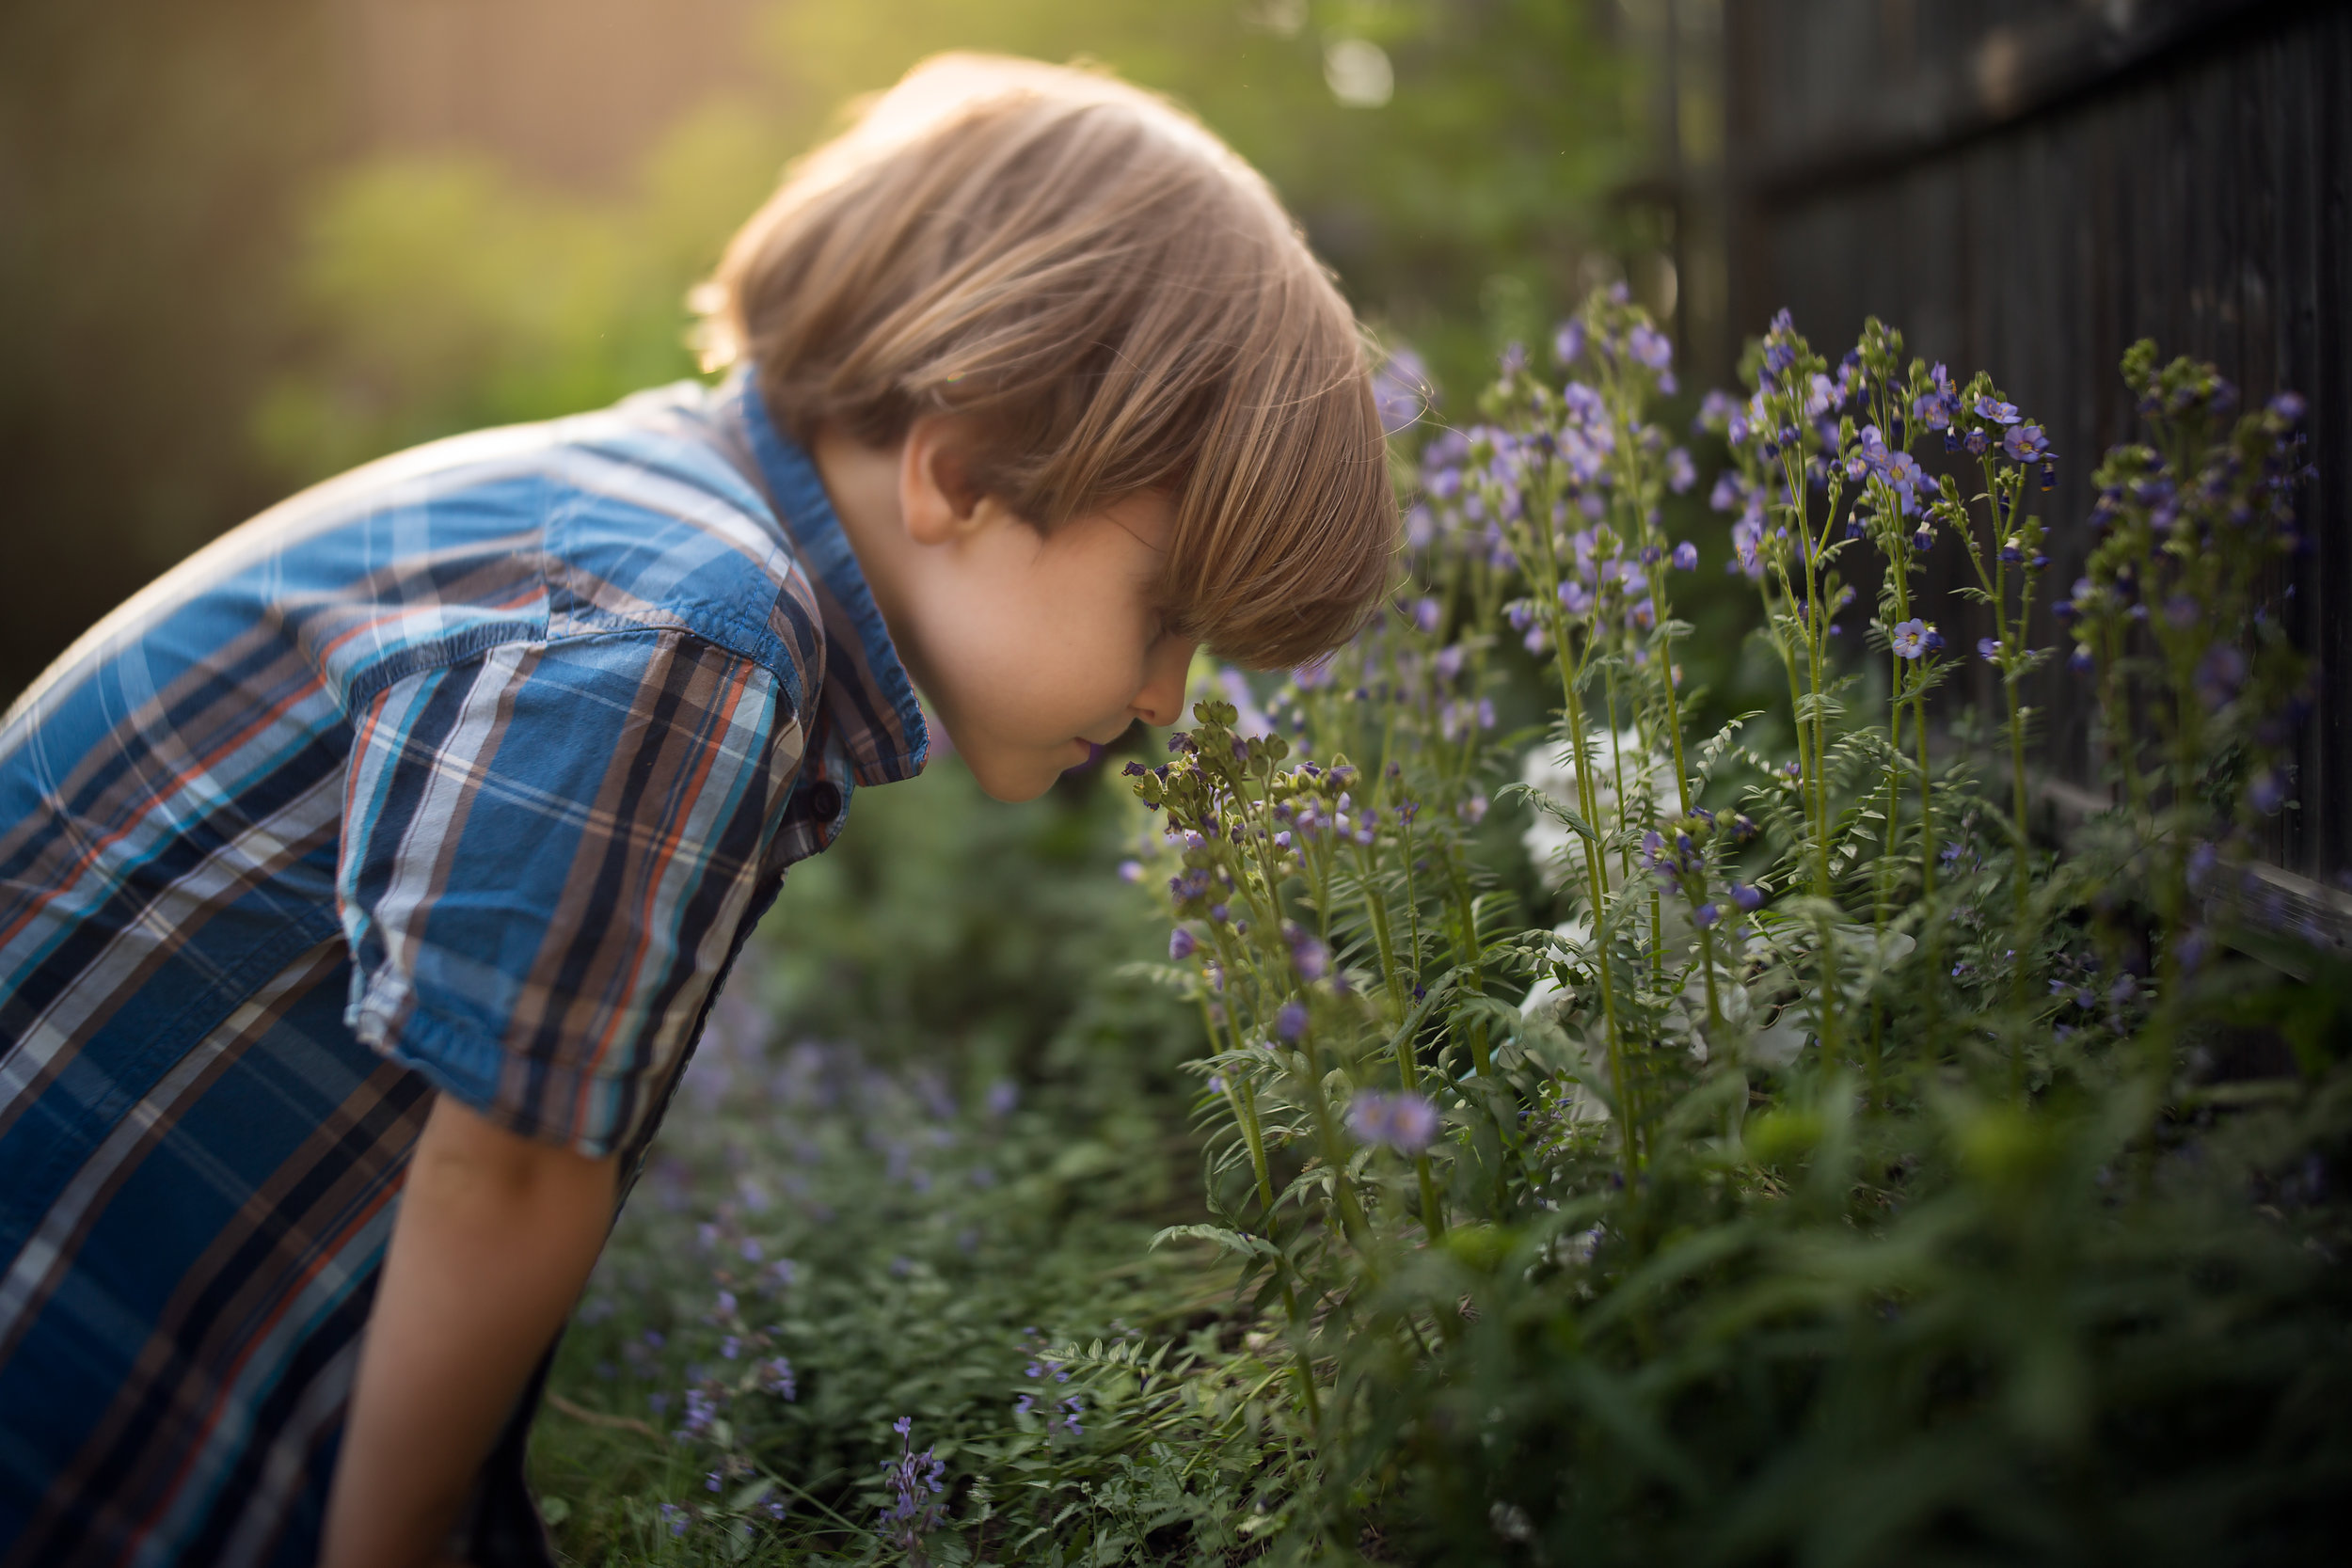
I admittedly got frustrated with free-lensing at first. I had enough patience to try and nail focus on my subject, but I quickly found that practice was going to be key here. Maneuvering the lens takes some getting used to, and obtaining focus was actually a lot harder than I anticipated. But I am Irish, which means that I am also stubborn, and persistence pays off because over time I got better, and now I really love it. As my experience grew, so did my confidence, and last year I began to free-lens using my kids as my subjects. Even though it’s much harder to photograph people using this technique, it’s definitely rewarding.

If you’re a photographer or hobbyist looking for more creative ways to photograph people and things, definitely give free-lensing a try! There are tilt shift lenses out there that give this same effect to photos with a little less work involved, and the Lensbaby products are pretty amazing too, even though the effects they produce are a little bit different than that of free-lensing or using a tilt shift lens. However, if you have a DSLR and you’re not able to spend the money on something like that, you can do this (for free!) with the gear you already have.
Pro tip: Lighter, smaller lenses are easier to use for this. A 50mm 1.8 is a great little lens to have in your bag anyway, but it’s much easier to use for free-lensing than something heavier would be. For the photos above, I mostly used my 35mm f/1.4 lens, which is considerably bigger than my 50mm. The photo of the ant on the peony was free-lensed with my 50mm f/1.8.
My advice is to have fun with it. If your images aren’t coming out as you had hoped, keep at it and try not to get discouraged. Like most things in life, practice makes better.